Introduction: Identity Architecture and Configuration Models in VCF 9.0
With version 9.0, VMware Cloud Foundation (VCF) introduces a fundamental shift in its approach to identity management, replacing the VMware Workspace ONE Access component with a new, deeply integrated solution called the VCF Identity Broker. Understanding its architecture and the available configuration models is crucial before proceeding with any setup.
1. VCF Identity Broker Deployment Models
The VCF Identity Broker, the central identity intermediary for the entire platform, can be deployed in two models, depending on availability and scale requirements:
- Embedded Model: The broker service is built into the vCenter instance of the management domain. This is a simpler solution, ideal for smaller deployments.
- Appliance Model: The service is deployed as an independent, three-node virtual appliance. This provides high availability (HA) and is recommended for production and distributed environments.
2. Hierarchical Levels of Identity Configuration
The authorization system in VCF 9.0 operates on three logical, hierarchical levels:
- Foundation (Fleet Level): VCF Operations configures the VCF Identity Broker to connect to the main corporate Identity Provider (IdP). This provides SSO for administrators managing the entire platform (VCF Operations, NSX, vCenter).
- Consumption or Independence (Provider Level): VCF Automation (Provider) can either use the existing configuration from Level 1 for full SSO or configure its own, independent connection to an IdP.
- Independence (Organization Level): VCF Automation (Tenant) allows each organization (tenant) to connect its own, separate IdP, giving them full autonomy in managing their users’ identities.
3. Key Flexibility: Two Approaches to Identity Integration in VCF Automation
VCF Automation at the provider level offers two key options for identity configuration, which have significant implications for the architecture and user experience.
Approach 1: Integrated – Consuming the Foundation (via VCF Identity Broker)
This is the default and recommended operational model in VCF 9.0.
- How it works: VCF Automation at the provider level is configured to use the VCF Identity Broker as its identity source.
- Benefits: Full Single Sign-On (SSO), unified identity management, and reduced complexity.
- When to use: New VCF (greenfield) deployments where the goal is to create a cohesive environment.
Approach 2: Independent – Direct Connection to an IdP
VCF Automation retains the flexibility to be configured for a direct connection to its own identity provider.
- How it works: A VCF Automation administrator can configure a direct integration with an IdP using LDAP or SAML protocols.
- Consequences: No SSO with the rest of the VCF platform and increased management complexity.
- When to use: Migrating an existing VMware Aria Automation environment or for strict administrative separation.
Goal of this Guide:
With these models in mind, the following guide will walk you through one of the most common scenarios: configuring the VCF Identity Broker for the platform components (Part I) and performing an independent integration of VCF Automation with Active Directory (Part II).
Prerequisites
Before you begin, ensure you have the following:
- Administrative access to the VCF Operations interface.
- Administrative access to the VCF Automation interface.
- A functioning Active Directory domain.
- A service account in AD with permissions to read user data (a “Bind account”).
- Correctly configured DNS that allows for the resolution of Fully Qualified Domain Names (FQDNs).
- Network connectivity between VCF components and the domain controllers.
Part I: Configuring Central SSO for VCF Components
This section covers the configuration of the VCF Identity Broker, which serves as the central authentication point for infrastructure components.
Step 1: Initiate SSO Configuration
- Log in to the VCF Operations interface.
- In the navigation menu, go to Identity & Access.
- In the VCF Instances section, select the VCF instance for which you want to configure SSO.
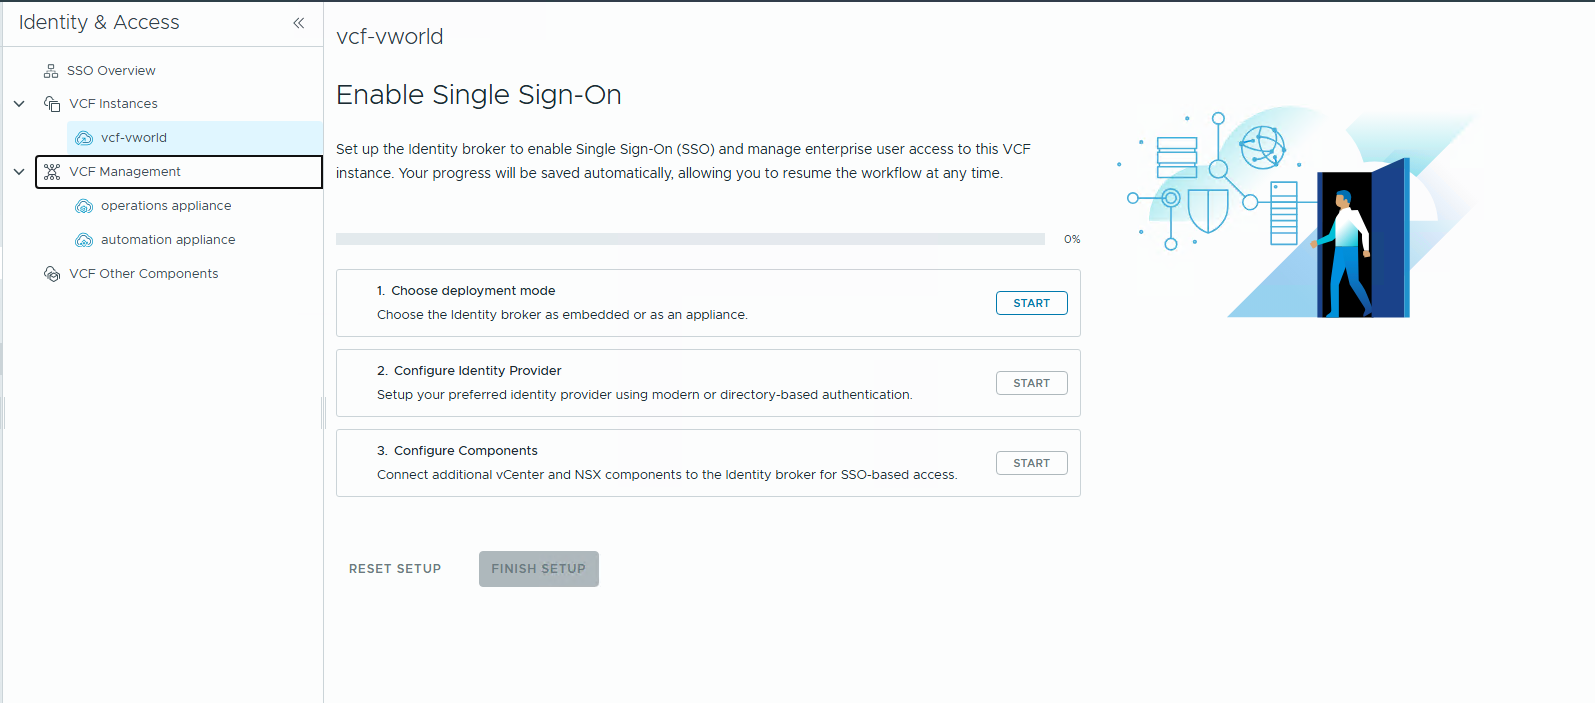
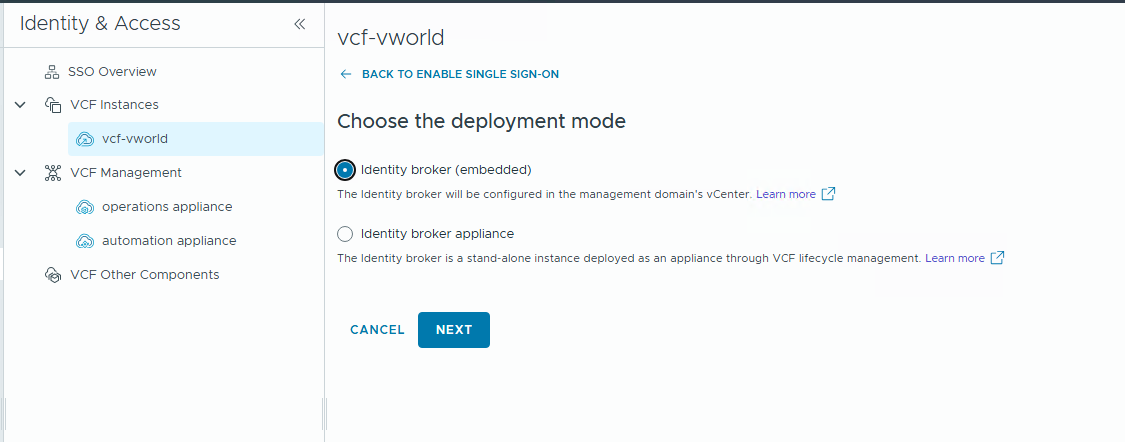
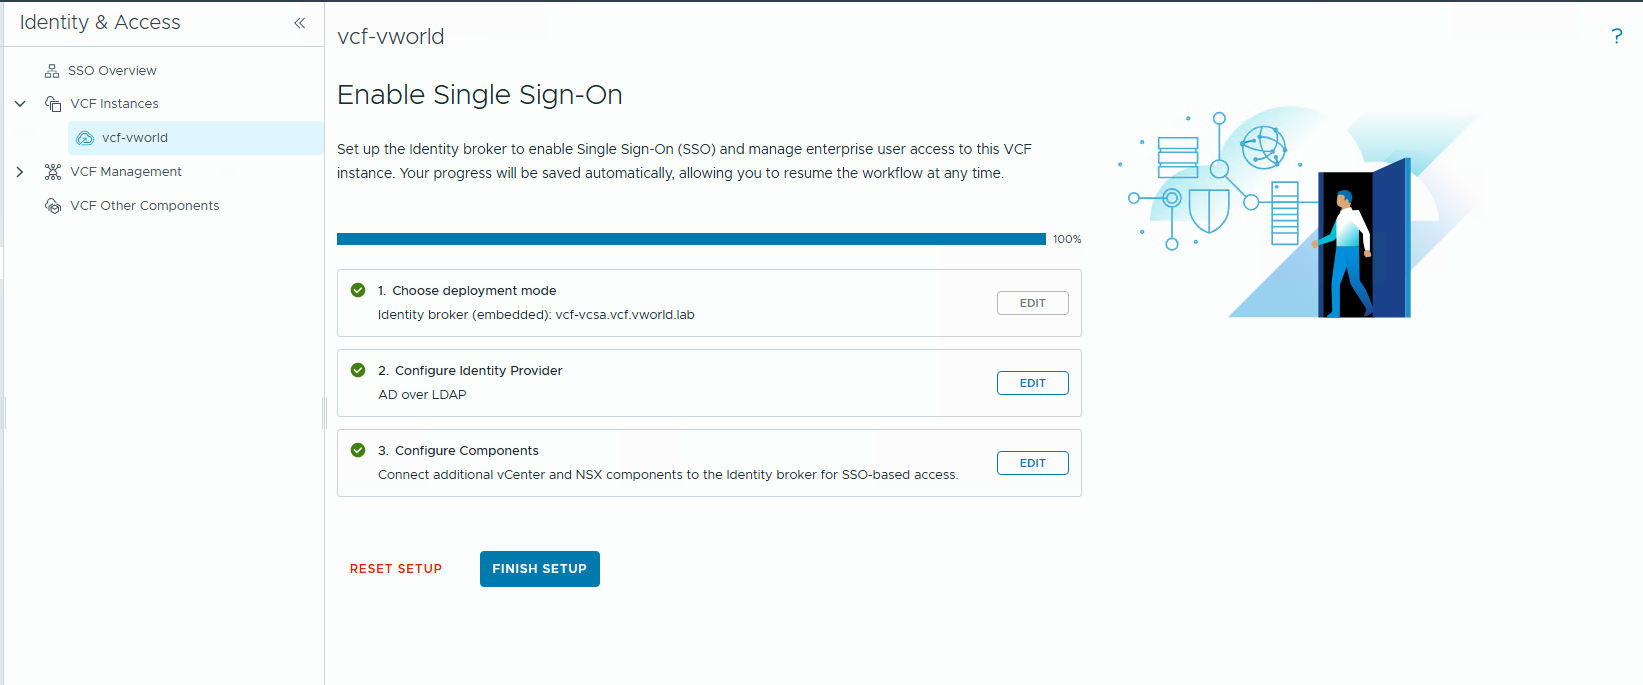
Step 2: Choose the VCF Identity Broker Deployment Mode
- On the Choose the deployment mode screen, select the Identity broker (embedded) option.
- Click NEXT.
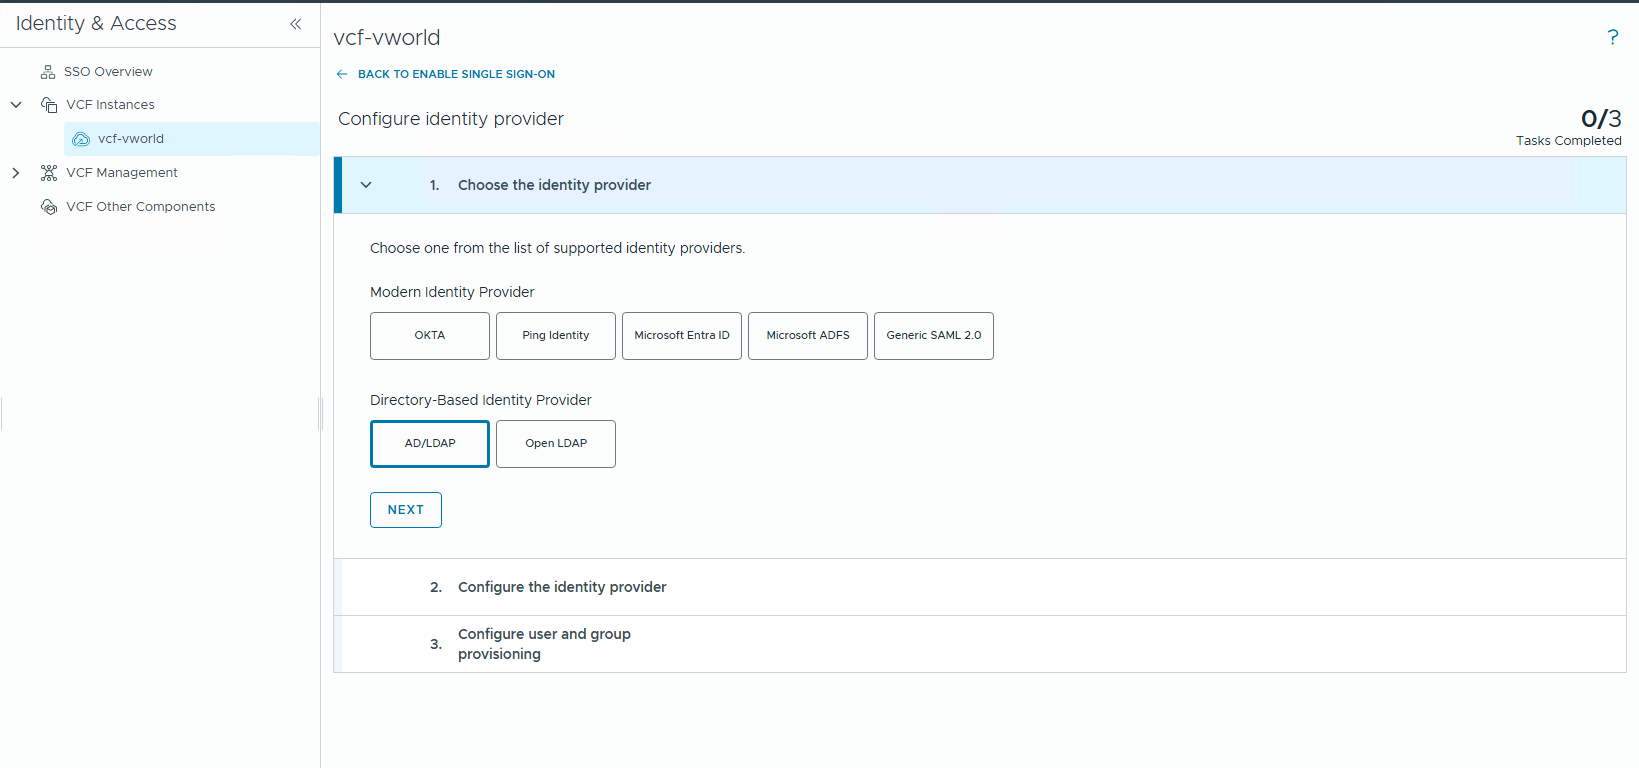
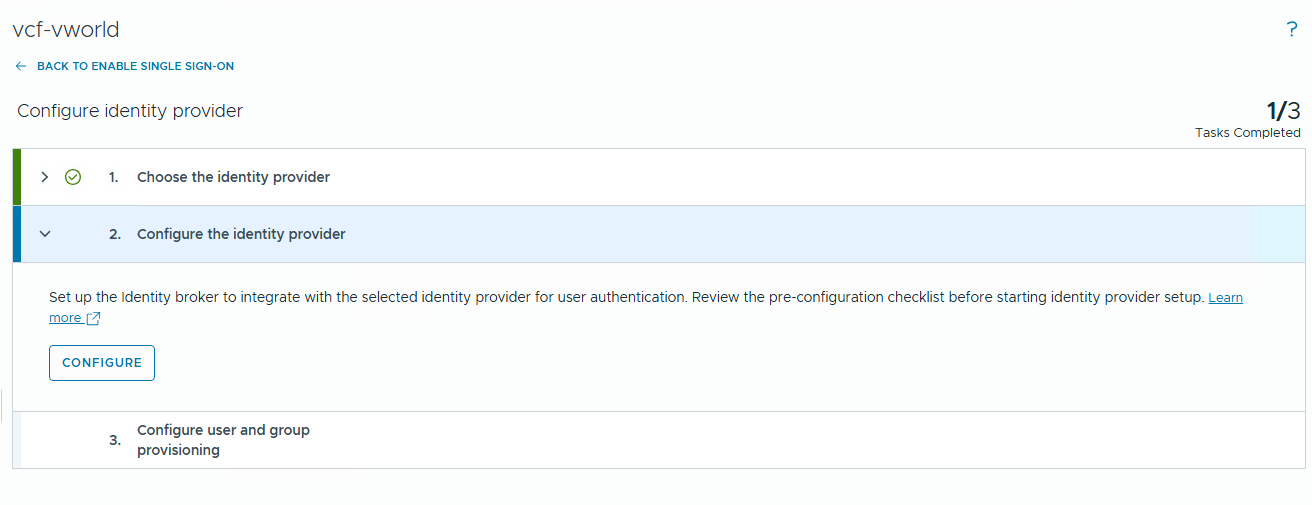
Step 3: Configure the Identity Provider

- In step 1. Choose the identity provider, select AD/LDAP from the Directory-Based Identity Provider section. Click NEXT.
- In step 2. Configure the identity provider, click CONFIGURE.
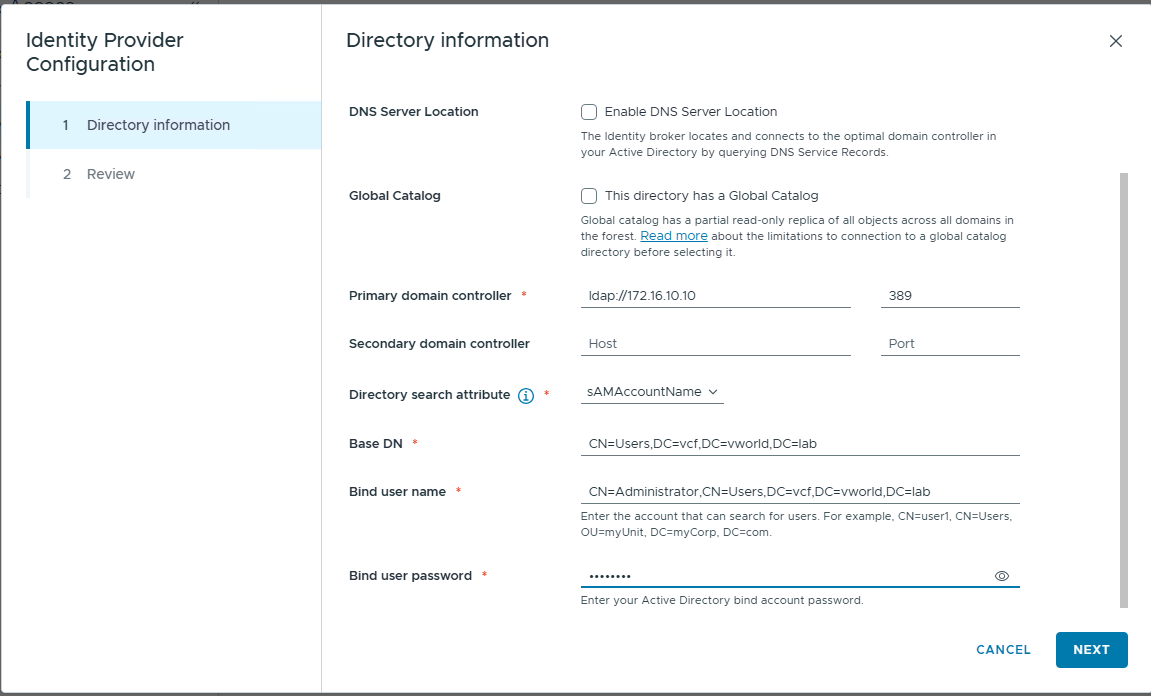
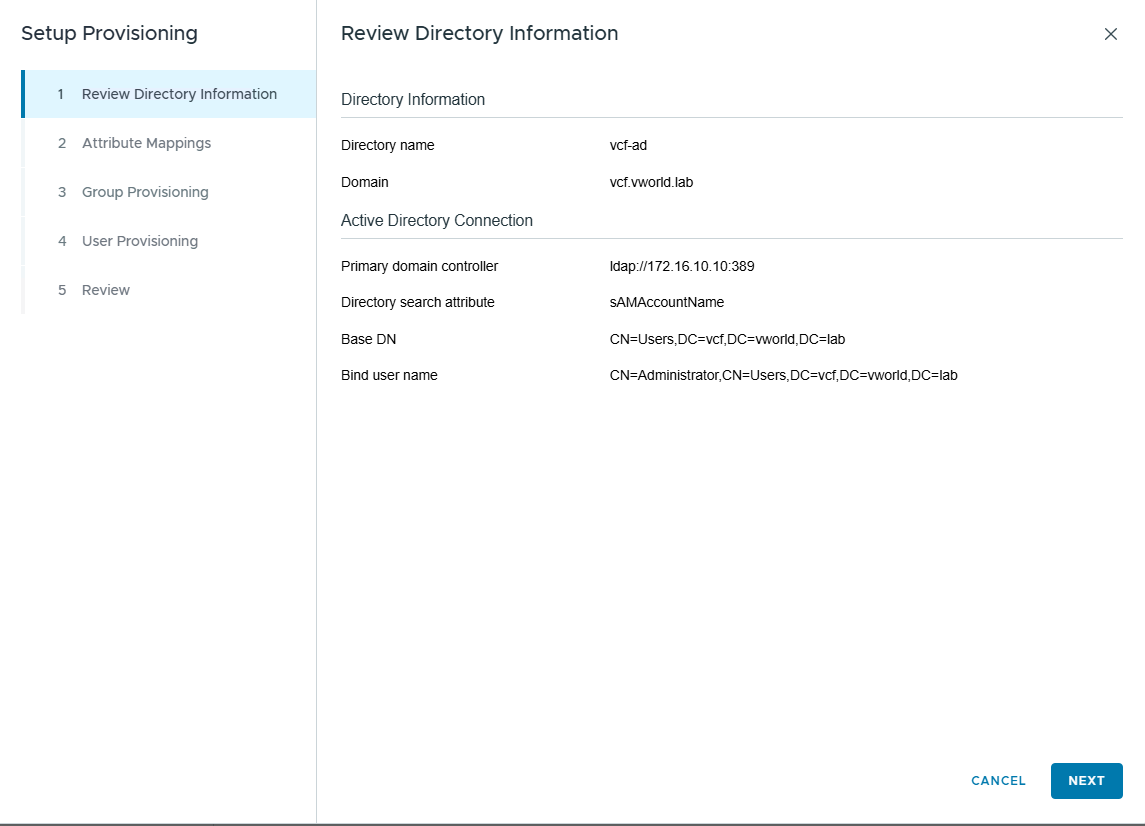
- In the Identity Provider Configuration window, fill in the connection details for your Active Directory (Primary domain controller, Base DN, Bind user name, Bind user password) and click NEXT.
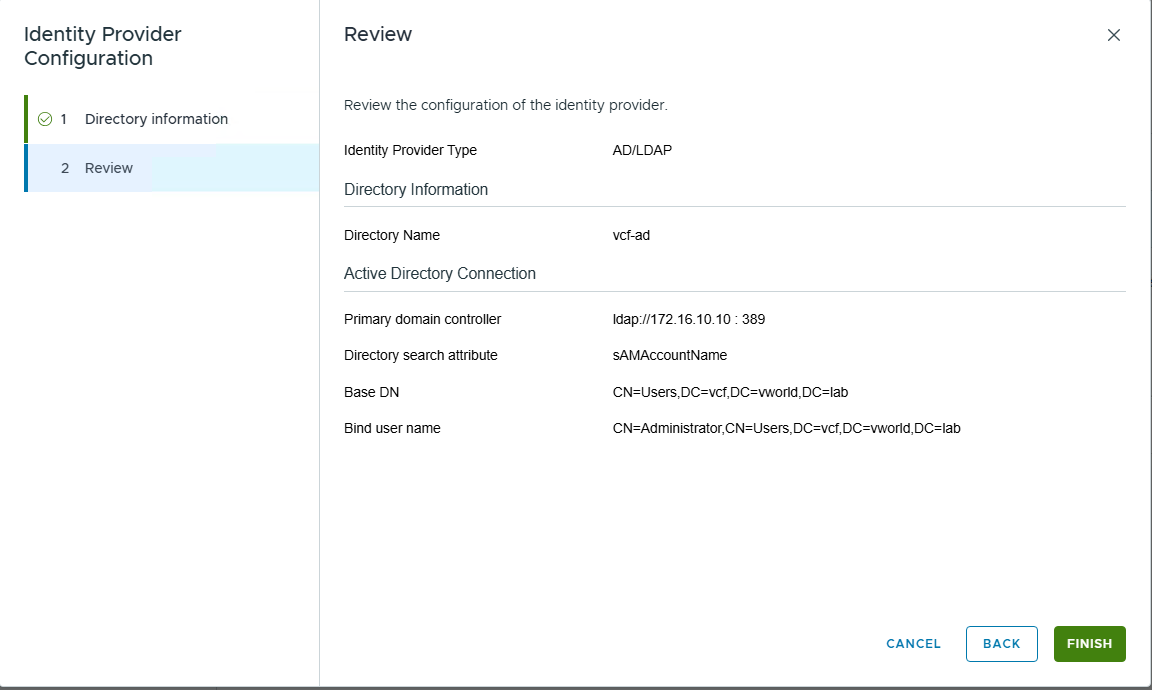
- Review the entered data on the Review screen and click FINISH.
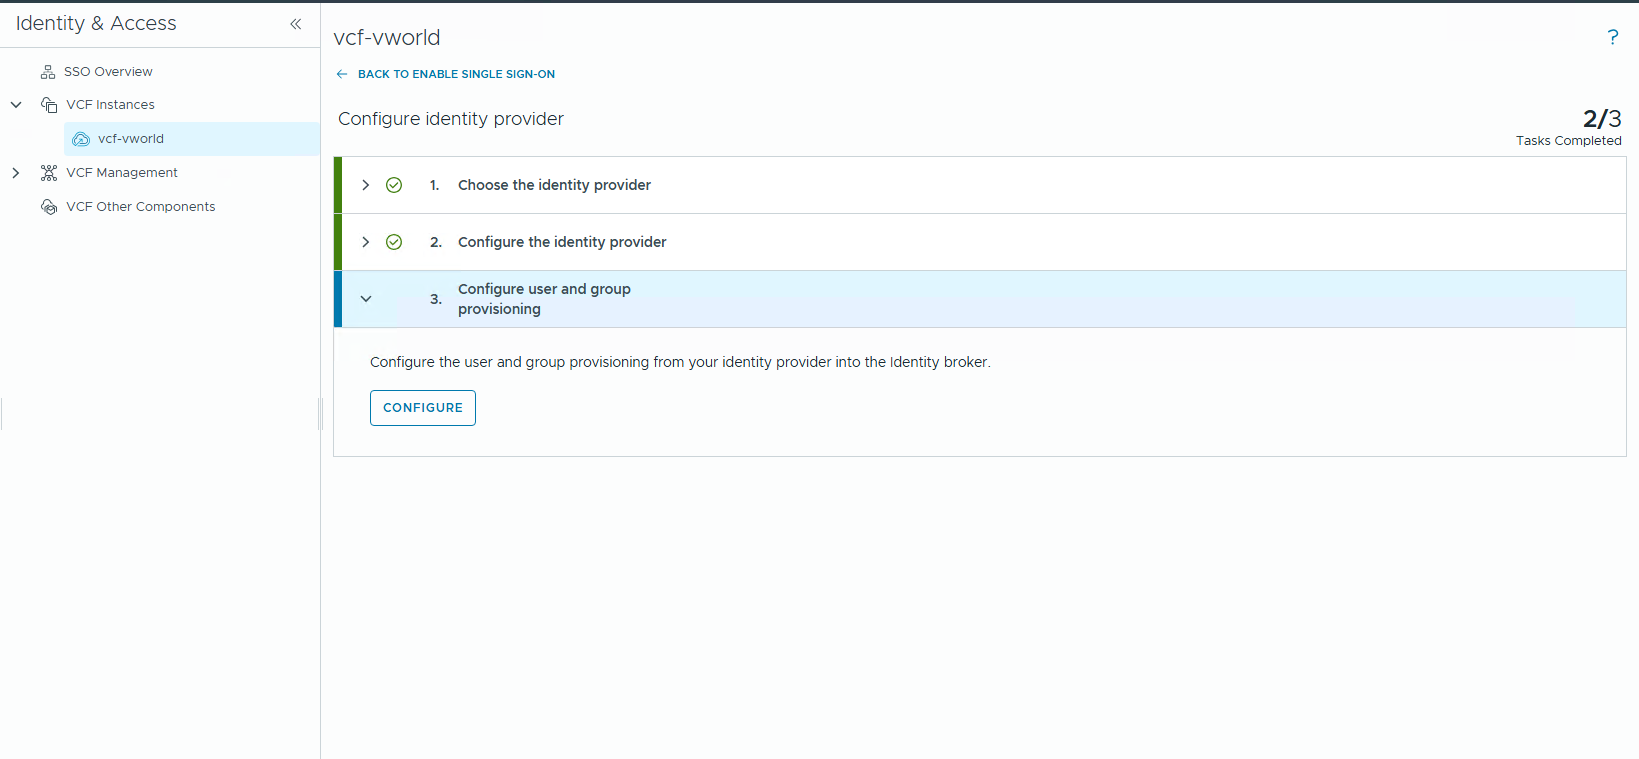
Step 4: Configure User and Group Provisioning
- In step 3. Configure user and group provisioning, click CONFIGURE.
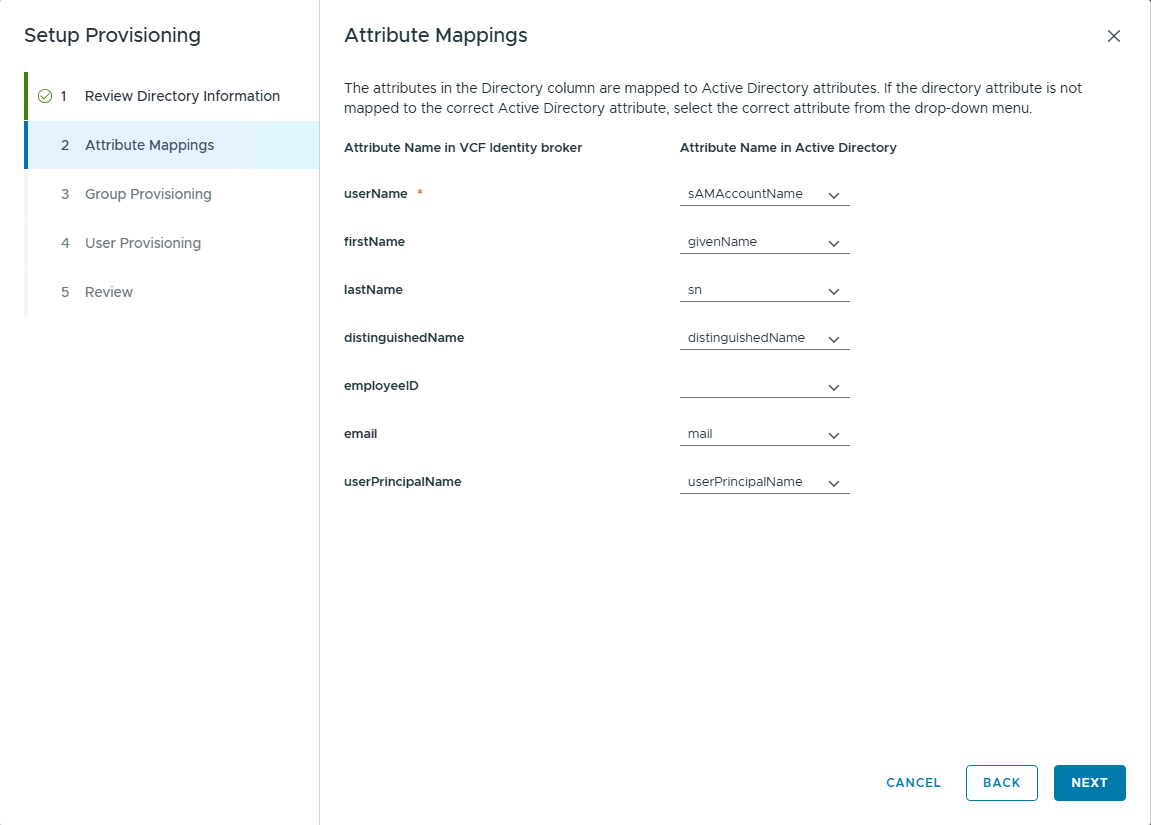
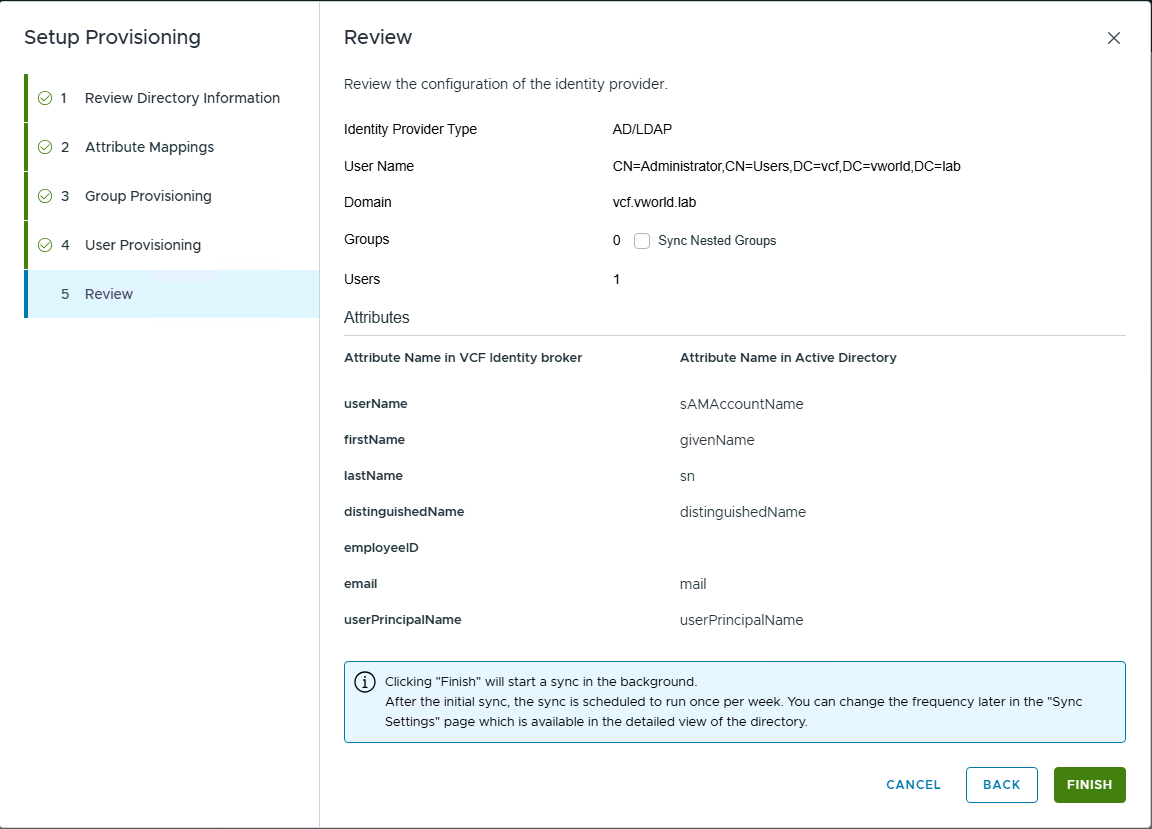
- In the Setup Provisioning wizard, proceed through the steps, verifying information, mapping attributes, and selecting users to synchronize.
- Once finished, click DONE.
Step 5: Finalize SSO Configuration
- Click FINISH SETUP.
- In the window with important notes about backup and role assignment, click CONTINUE.
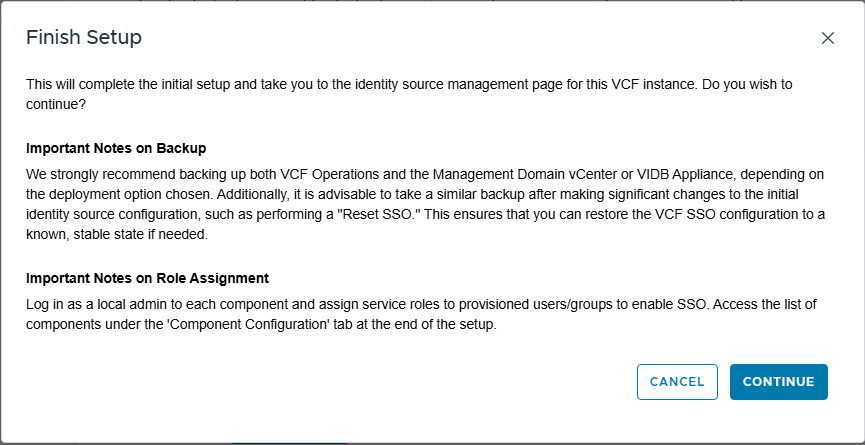
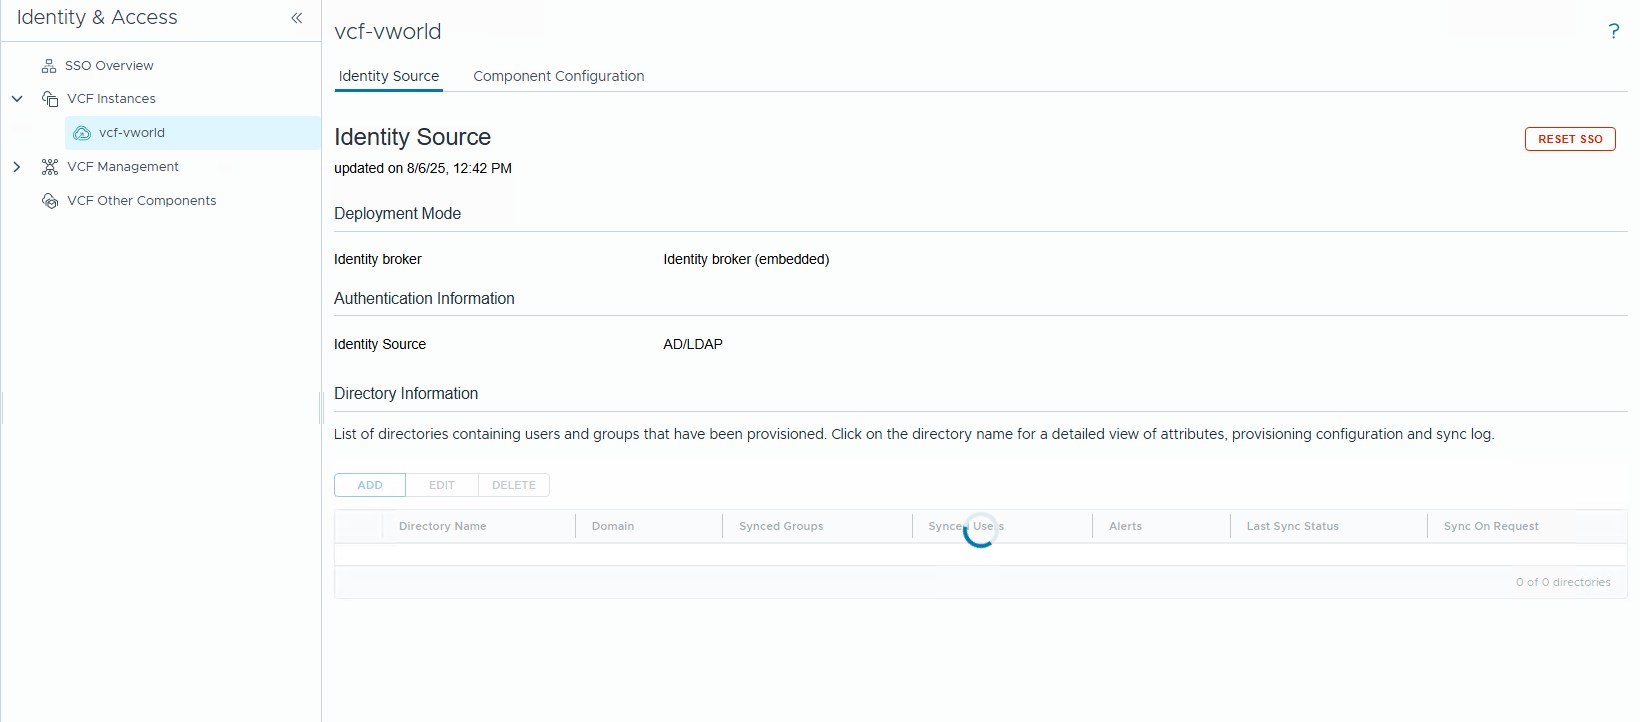
- After a moment, you will see the management page for the newly created identity source.
Step 6: Connect Components to SSO
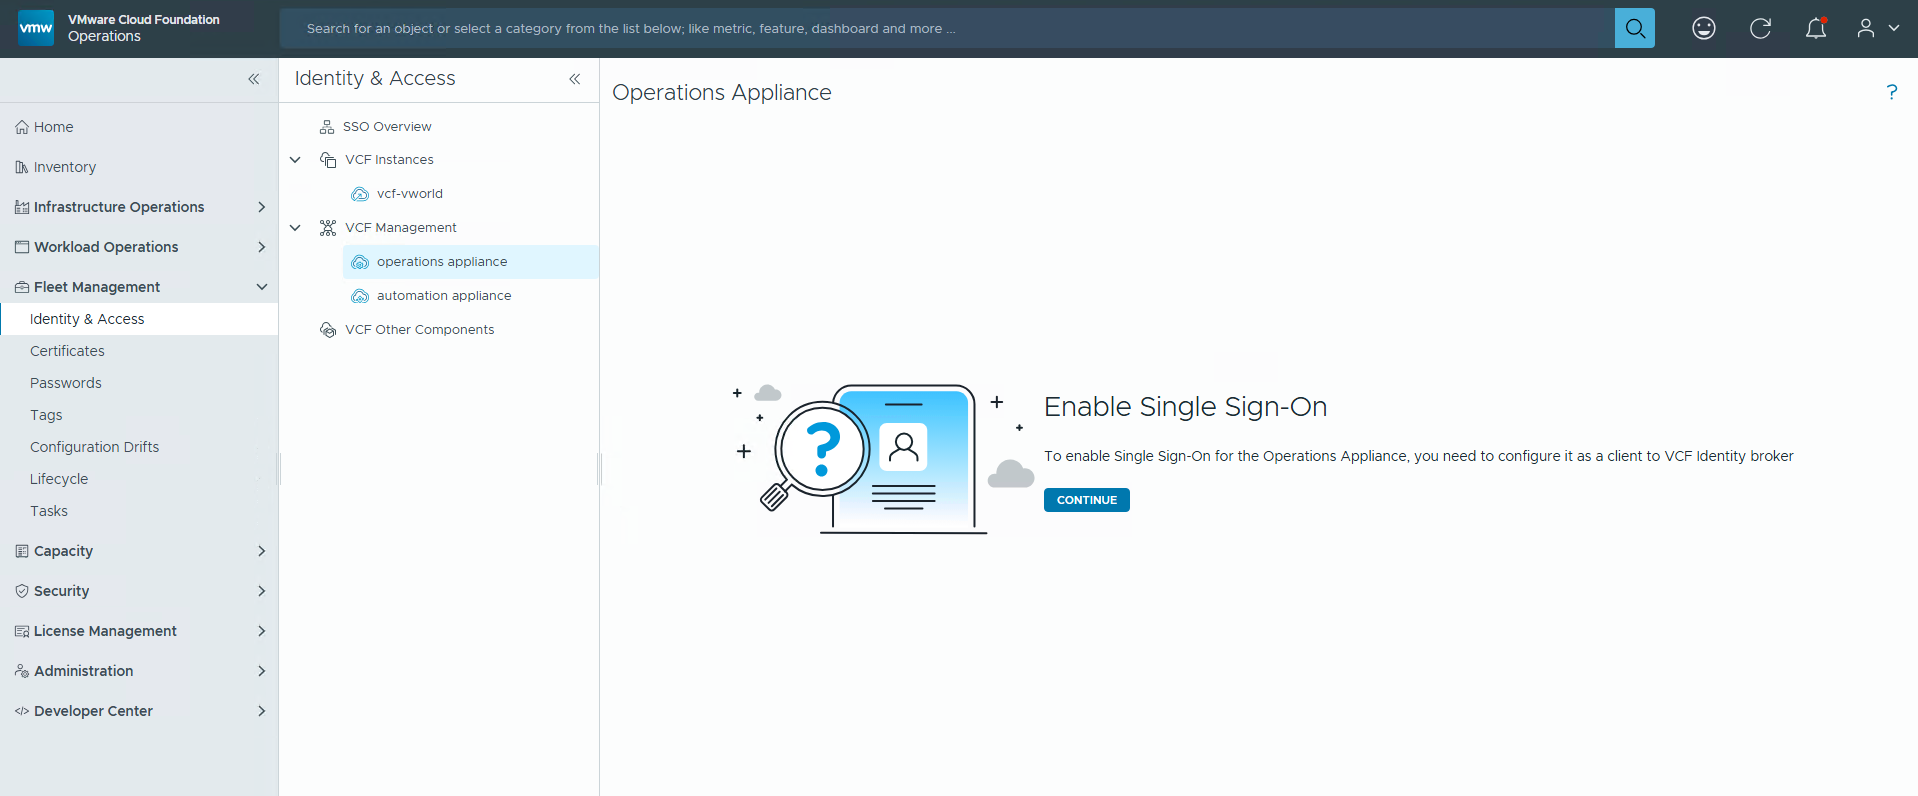
- Navigate to the Component Configuration tab.
- Select the component you want to connect (e.g., operations appliance) and click CONFIGURE COMPONENT.

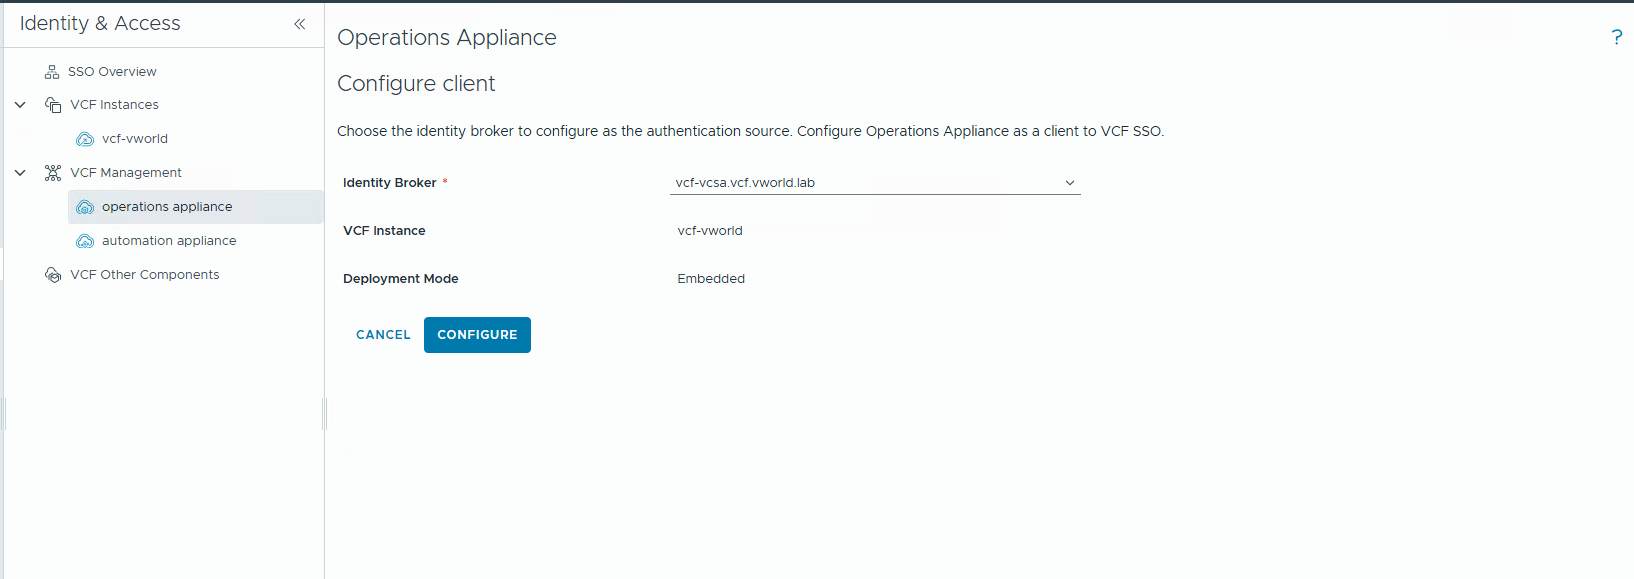
- Confirm that you want to enable SSO by clicking CONTINUE, then select the appropriate Identity Broker and click CONFIGURE.
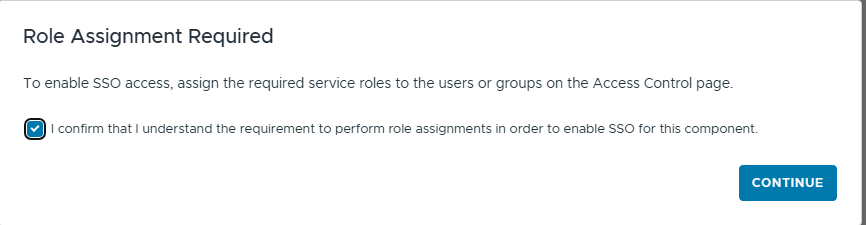
- Acknowledge that you understand the role assignment requirement and click CONTINUE.
Step 7: Assign Roles to Synchronized Users
- Navigate to the interface of the configured component (e.g., VCF Operations).
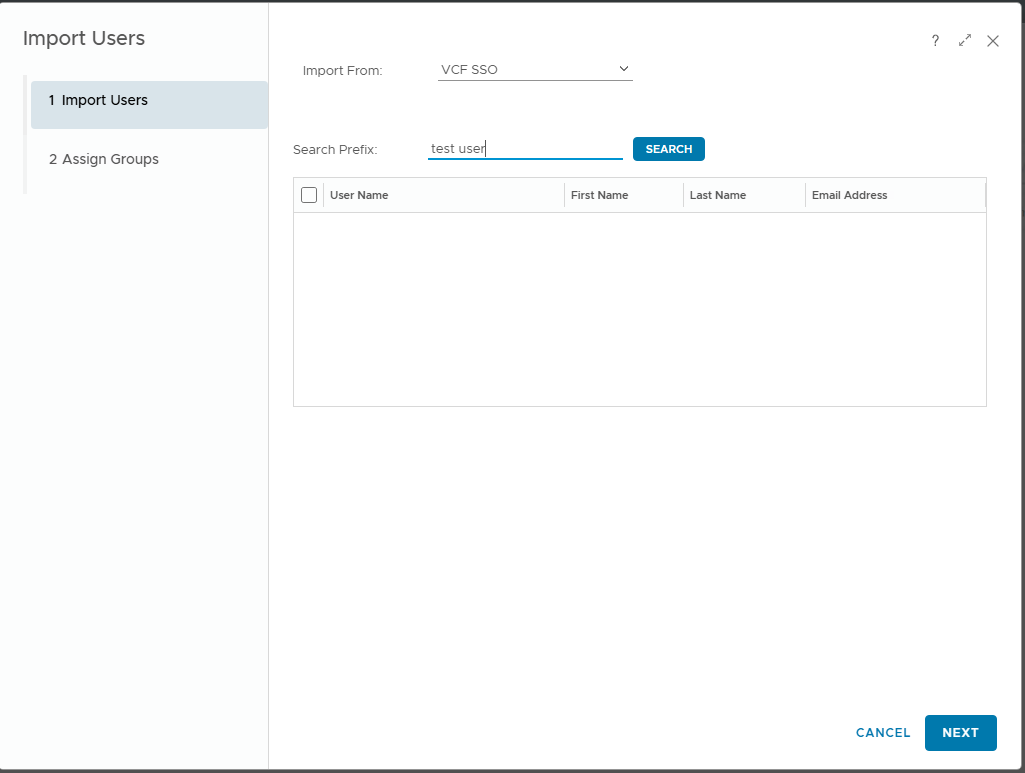
- In the access management section (Access Control), you will see the synchronized user.
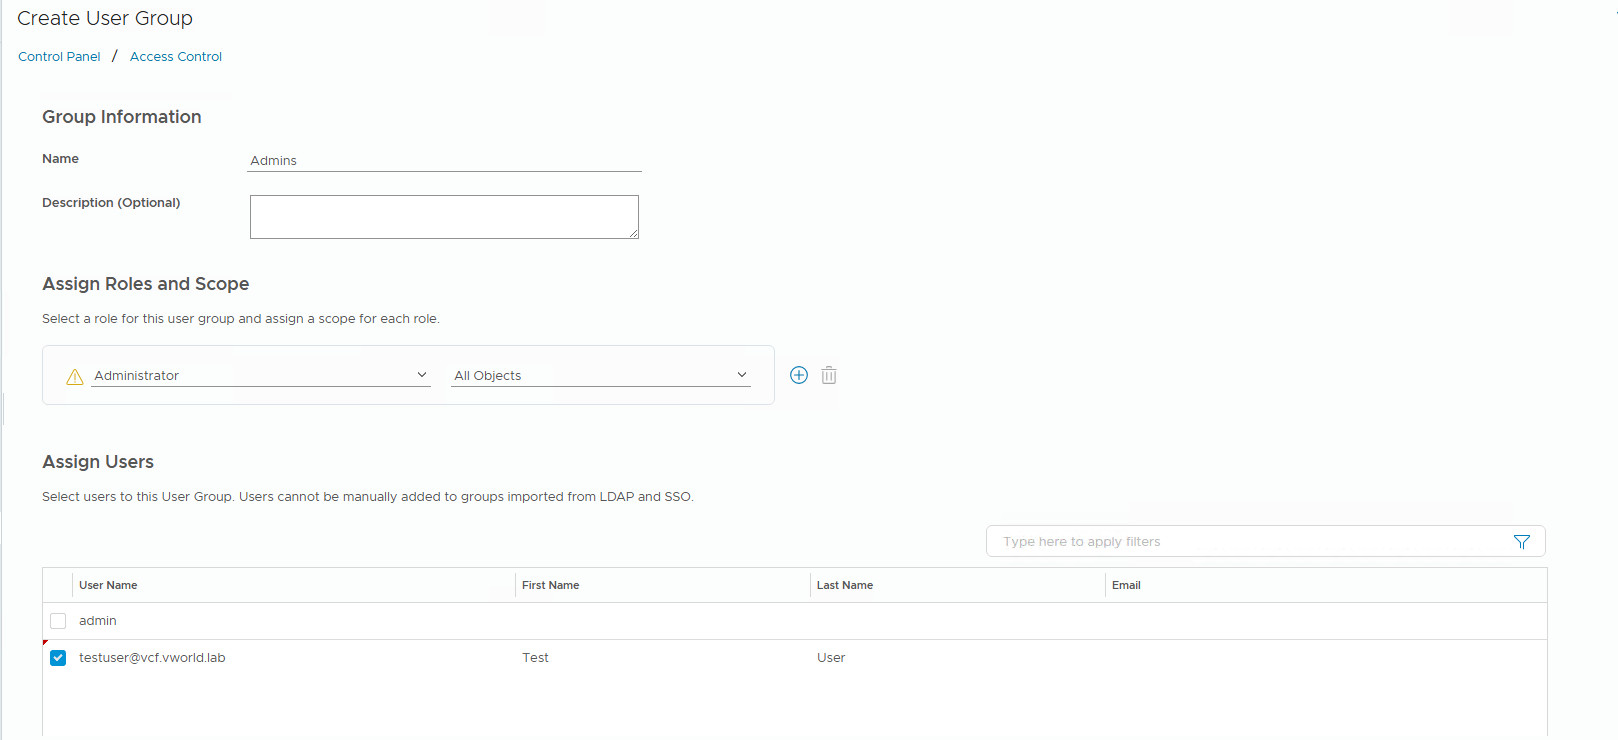
- Go to the User Groups tab, click ADD, create a group, assign a role (e.g., Administrator), and add the synchronized user to it.
Part II: Identity Integration with VCF Automation
In this scenario, we configure an independent LDAP connection directly within VCF Automation at the Service Provider level.
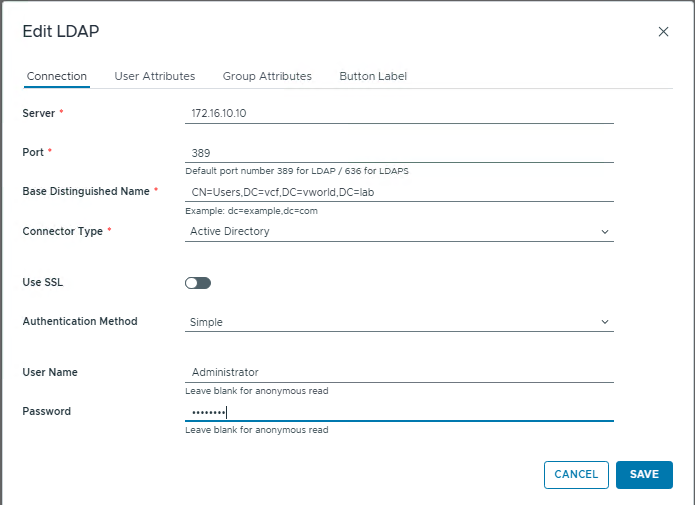
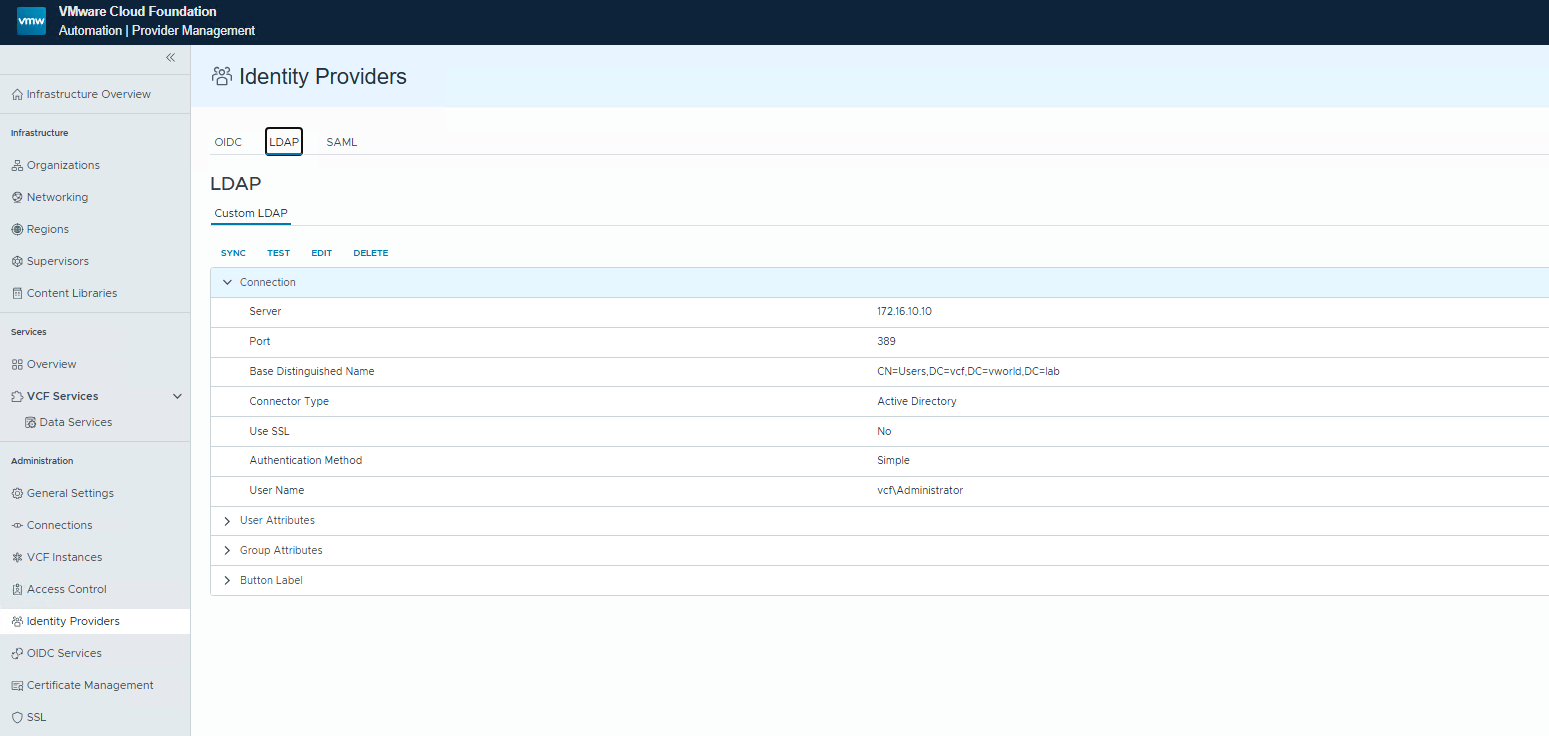
Step 8: Configure the Central LDAP Provider in VCF Automation
- Log in to the VCF Automation interface.
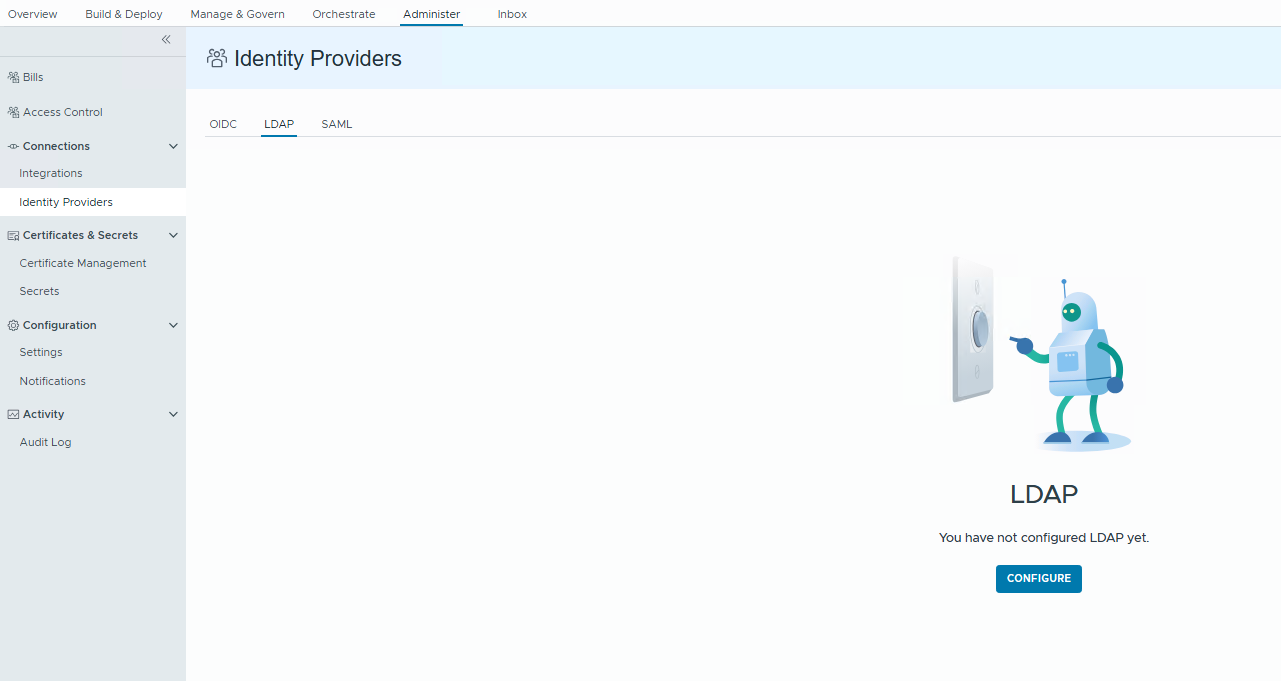
- Navigate to Administration -> Identity Providers.
- Go to the LDAP tab and click CONFIGURE.
- In the Edit LDAP window, fill in the connection details for your Active Directory and click SAVE.
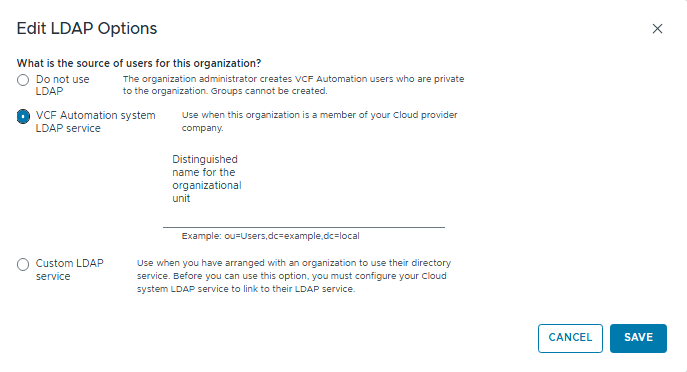
Step 9: Connect an Organization to the System LDAP Service
- Navigate to the settings of the organization (tenant) you want to configure.
- In the Edit LDAP Options window, select the VCF Automation system LDAP service option.
- Click SAVE.
Part III: Troubleshooting – “Invalid redirect URL” Error
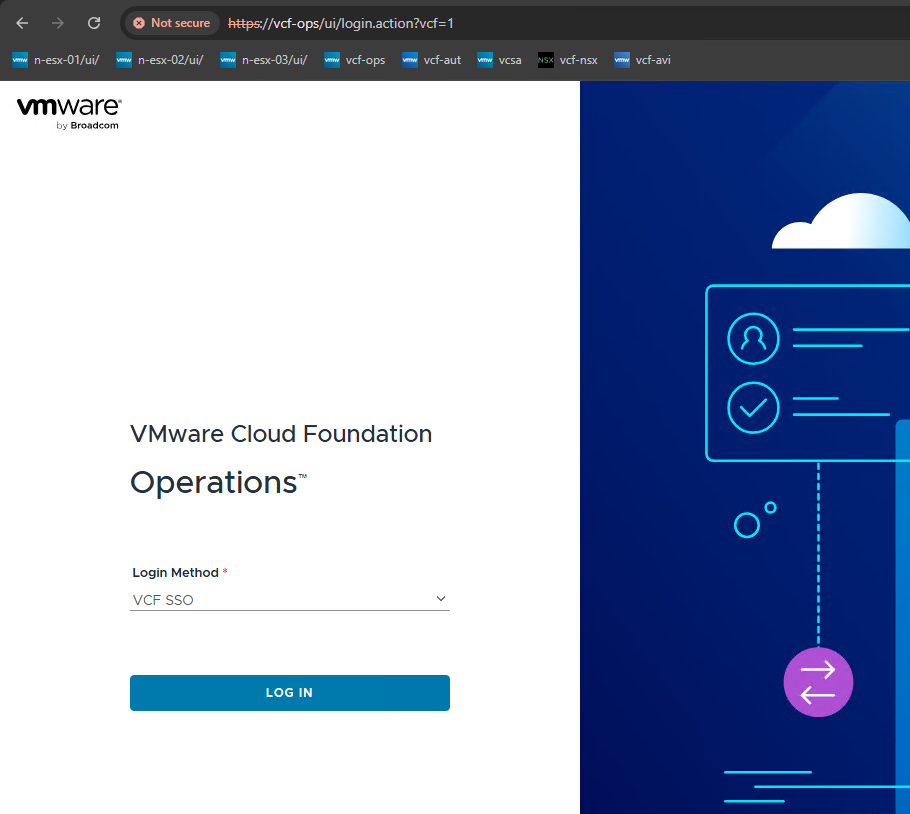
After completing the configuration, you may encounter an error when trying to log in to the components from Part I.
- Problem: After selecting the “VCF SSO” login method and being redirected, an error appears: “VCF Identity Broker encountered an issue during authentication” with the message “Invalid redirect URL”.
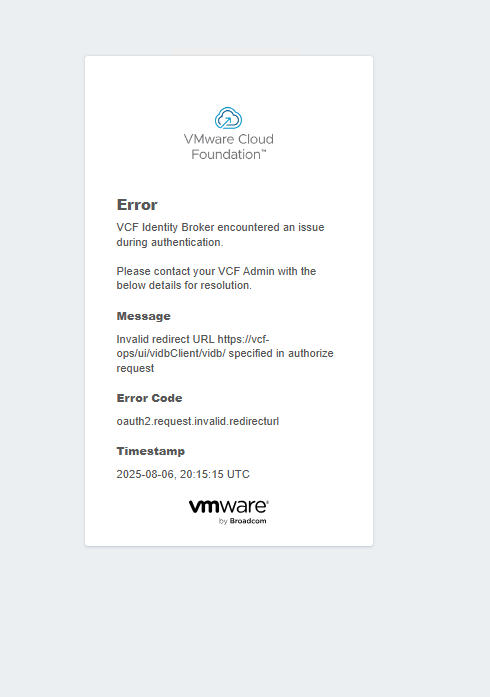
- Cause: This error is caused by a mismatch between the URL used in the browser and the URL registered in the VCF Identity Broker during the component’s configuration. This most often happens when you try to access a component using its short name (e.g.,
https://vcf-ops/) while VCF has registered its Fully Qualified Domain Name (FQDN) (e.g.,https://vcf-ops.vcf.vworld.lab/).
- Solution:
- Always use Fully Qualified Domain Names (FQDNs) in the browser’s address bar to access VCF components.
- Incorrect:
https://vcf-ops - Correct:
https://vcf-ops.vcf.vworld.lab
- Incorrect:
- Using the FQDN ensures that the redirect URL sent to the VCF Identity Broker matches what was configured, allowing the login process to complete successfully.
- Always use Fully Qualified Domain Names (FQDNs) in the browser’s address bar to access VCF components.